Most people shopping for microscope cameras make the same mistake. They sort by megapixels, pick the highest number, and call it done. Then they wonder why their images still look flat or blurry.
The truth is that resolution is only a part of the bigger picture. In reality, the real value of a camera is sensor quality, frame rate, software support and port compatibility.
This guide takes the guesswork out of what those features actually mean, so you can buy with confidence, not guesswork. No jargon, no fluff.
Why Most People Buy the Wrong Microscope Camera
It usually comes down to shopping by spec sheet instead of actual need. A few patterns show up again and again:
- Chasing megapixels: A higher number looks impressive, but a 3MP camera with a quality sensor will outperform a 5MP camera with a cheap one every single time.
- Ignoring compatibility: Many cameras are marketed as universal fits. In reality, they need adapters, lose sharpness at certain zoom levels, or simply don’t work with the buyer’s microscope brand.
- Overlooking software: A camera is only as useful as the software running it. If the drivers don’t support your operating system, you have a paperweight.
- Skipping the port check: Binocular microscopes don’t always support a camera attachment. That’s something people find out after the package arrives.
The fix is knowing what questions to ask before buying, not after.
The Camera Features That Actually Affect Your Work
Sensor Size and Resolution: Not the Same Thing
Resolution tells you how many pixels a camera captures. Sensor size tells you how well it captures light. In low-contrast specimens or under lower magnification, a larger sensor picks up detail that a smaller one simply misses. CMOS sensors are now the standard across most lab and educational cameras, and for good reason. They’re efficient, consistent, and work well in real working conditions.
Frame Rate and Live Imaging Quality
If you’re demonstrating a live specimen or running a classroom session, frame rate matters more than anything else. A camera dropping below 15fps makes live viewing choppy and hard to follow. Around 30fps feels smooth and natural. For anyone doing live teaching or tracking moving samples, this number deserves more attention than it usually gets.
Software and Connectivity Compatibility
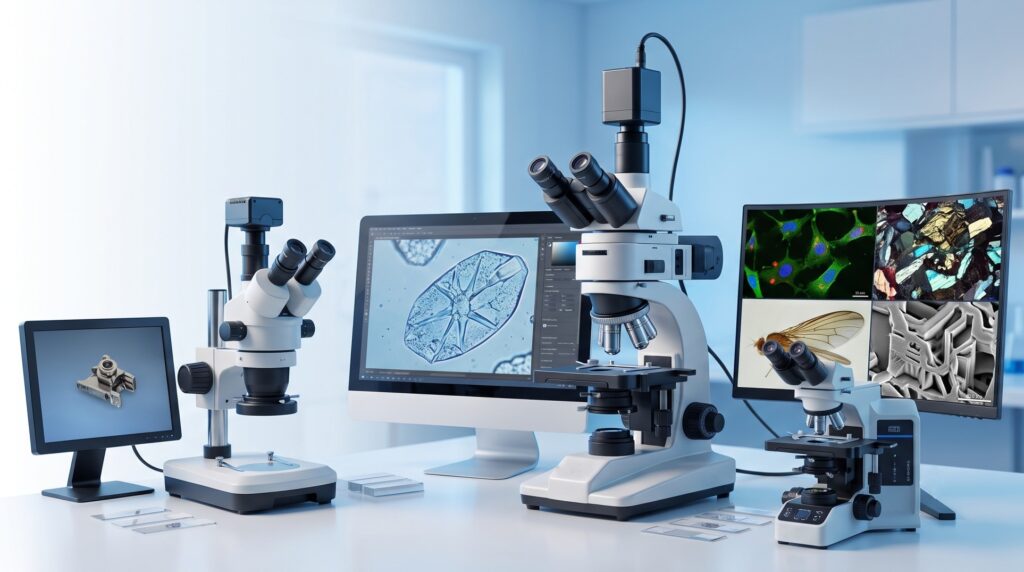
How the camera connects to your setup changes everything. USB works reliably for desktop capture. HDMI lets you push a live image to a screen without needing a computer in the loop, which is useful in classrooms. Wi-Fi is becoming more popular in tablet-based labs and field setups. Beyond the cable, check whether the camera software runs on your operating system. A lot of buyers skip this step and regret it.
C-Mount and Trinocular Port Compatibility
Most microscope cameras connect through a C-mount port, which is the small threaded opening on a trinocular microscope head. If your microscope only has two eyepieces, you’ll need an adapter or a different setup entirely. Worth confirming before you order.
How to Choose the Right Microscope Cameras for Your Work
There is no single best camera. There is only the right one for what you actually do. Here is how to think through it.
Start With Your Primary Use Case
Still image capture and live video are different priorities. If you are documenting samples for reports, publications, or quality control records, resolution and color accuracy matter most. If you are teaching, demonstrating, or tracking live specimens, frame rate and output flexibility take the lead. Getting clear on this one question eliminates half the confusion before you even look at models.
Match the Camera to Your Microscope Setup
Before anything else, check whether your microscope has a trinocular port. Without it, adding a camera involves workarounds that often compromise image quality. Also confirm the C-mount thread size. Most modern cameras are standardized, but older or budget microscopes sometimes aren’t.
Think About Who Else Uses It
In shared lab environments or classrooms, ease of use matters just as much as specs. A camera with a complicated setup or software that requires IT approval every time becomes a friction point fast. If multiple people are using the same station, simplicity and reliability should rank high on your list.
Consider How the Images Will Be Used
Images that stay on a desktop need less output flexibility than ones being projected, shared over a network, or archived for compliance. Knowing the end destination of your images helps narrow down whether you need USB, HDMI, or Wi-Fi output from the start.
Quick Tips Before You Make a Final Decision
A few things worth checking before you hit buy:
- Confirm your port: Make sure your microscope has a trinocular head and a C-mount opening before ordering anything.
- Check OS compatibility: Not every camera works on every system. Verify driver support for Windows or Mac before committing.
- Know your primary need: Live viewing and still capture require different things. Pick based on what you do most.
- Think ahead: If you’ll ever need to project, publish, or archive images, factor that into your output choice now.
To Summarize
Buying a microscope camera gets easier once you stop leading with specs and start leading with purpose.
The features that matter most depend entirely on what you are using the camera for. A researcher and a classroom teacher have different needs, and the right camera reflects that difference.
Take the time to match the camera to your actual workflow, your microscope setup, and the people using it. That approach saves money, avoids frustration, and gets you images that are genuinely useful from day one.