
Have you ever missed a delivery because you couldn’t hear the doorbell from your backyard? Or perhaps you’ve wondered who’s at the front gate without wanting to trek across your entire property? Maybe you’re running a business and need a reliable way to screen visitors before buzzing them in?
If any of these scenarios sound familiar, you’re not alone. Home intercom systems are making a serious comeback across Australia, and for good reason. These clever devices have evolved far beyond the crackly, static-filled boxes of the 1980s. Today’s systems offer crystal-clear audio, high-definition video, and seamless smartphone integration that would’ve seemed like science fiction just a decade ago.
In this guide, we’ll walk you through everything you need to know about installing modern intercom systems. Whether you’re kitting out your family home in suburban Melbourne or securing a commercial building in Brisbane, you’ll discover the different types available, how to plan your installation, and step-by-step instructions for getting your system up and running. Plus, we’ll cover costs, maintenance tips, and when it makes sense to call in the professionals. Let’s get stuck into it.
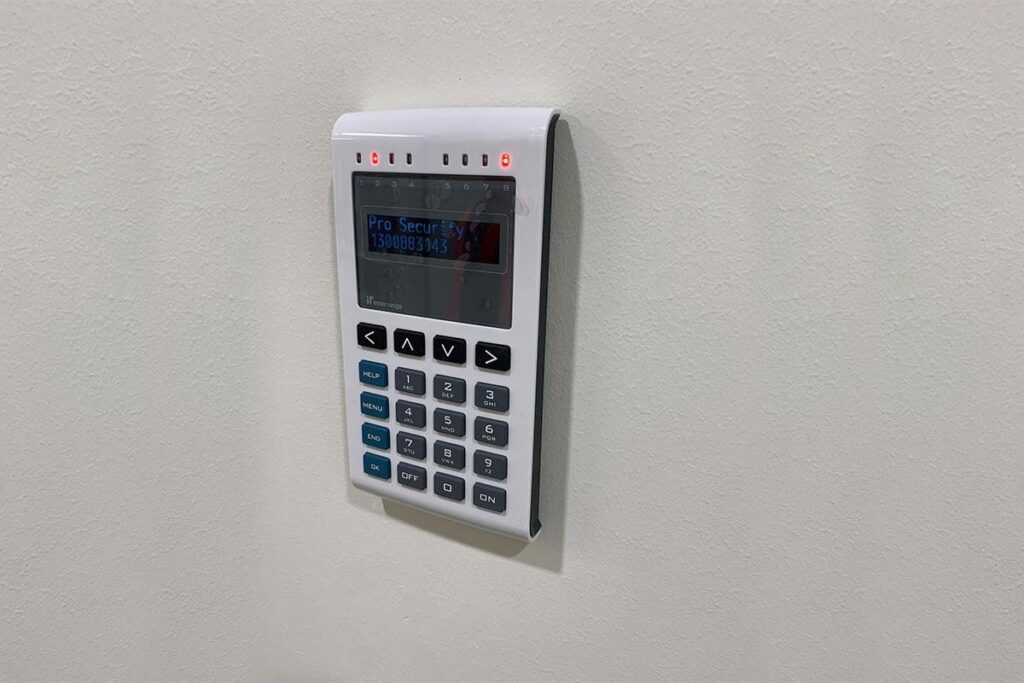
What Are Modern Intercom Systems?
Modern intercom systems are communication devices that allow two-way audio or video conversations between different locations within a property. Think of them as your personal reception desk, gatehouse, and home communication network all rolled into one.
Unlike older systems that relied solely on hardwired connections, today’s options include wireless models that connect via Wi-Fi, allowing you to answer your door from anywhere in the world using your smartphone. Many integrate directly with smart home ecosystems like Google Home or Amazon Alexa, making them part of your broader connected home setup.
Why Are Intercom Systems Making a Comeback in Australian Homes and Businesses?
The rise in online shopping has created a genuine need for better visitor management. Australians are receiving more packages than ever, and knowing who’s at your door—without opening it—has become essential. Security concerns have also grown, with many homeowners wanting to screen visitors before allowing access.
For businesses, intercoms provide a professional first impression while maintaining security protocols. They’re particularly valuable for medical practices, office buildings, and retail stores that need to control access during and after business hours.
Types of Home Intercom Systems Explained
Choosing the right intercom system starts with understanding your options. The market offers several distinct types, each with unique advantages.
Wired vs Wireless Intercom Systems: Which Should You Choose?
Wired systems remain the gold standard for reliability. They don’t suffer from signal interference and provide consistent performance year after year. However, installation requires running cables through walls, which can be disruptive in existing buildings.
Wireless systems offer flexibility and easier installation. They’re ideal for renters or anyone who doesn’t want to deal with construction work. The trade-off? They depend on your Wi-Fi network’s strength and may experience occasional connectivity hiccups.
Audio-Only vs Video Intercom Systems
Audio-only intercoms are budget-friendly and straightforward. They work brilliantly for internal communication between rooms but offer limited security benefits at entry points.
Video intercoms have become increasingly popular, allowing you to see exactly who’s at your door. Many feature night vision, wide-angle lenses, and recording capabilities. For security-conscious Australians, video systems are typically the better investment.
Smart Intercom Systems with App Integration
Smart intercoms connect to your smartphone, letting you answer your door from anywhere. Whether you’re at work, on holiday, or simply in the backyard, you’ll never miss a visitor. These systems often include cloud storage for video recordings and integrate with other smart home devices.
Benefits Of Installing A Home Intercom System
Installing a home intercom system delivers multiple advantages that improve daily life and property value.
Enhanced Security And Visitor Screening
The ability to see and speak with visitors before opening your door is invaluable. You can verify delivery drivers, speak with unexpected guests, and even deter potential intruders. Many systems include motion detection that alerts you to activity even before someone rings the bell.
Convenient Room-To-Room Communication
For larger homes, intercoms eliminate the need to shout across the house. Call the kids down for dinner, check if your partner needs anything from the shops, or communicate with elderly family members in separate living areas. This convenience alone makes the investment worthwhile for many families.
How do intercom systems add value to your property?
Real estate agents consistently report that security features attract buyers. A well-installed intercom system signals that a property has been thoughtfully upgraded. For apartment buildings and commercial properties, quality intercom systems are practically expected by tenants and can justify higher rents.
Planning Your Intercom System Installation
Proper planning ensures your system meets your needs without unnecessary expense.
Assessing Your Property’s Layout and Requirements
Walk through your property and identify key communication points. Consider entry gates, front and back doors, garage access points, and any areas where you’d benefit from internal communication. For businesses, think about reception areas, loading docks, and staff entry points.
How Many Intercom Stations Do You Need?
Most residential installations require one outdoor station at the main entrance and two to three indoor stations in high-traffic areas like the kitchen, master bedroom, and home office. Larger properties or businesses may need additional units at secondary entrances and throughout the building.
What To Consider For Business Vs Residential Installations
Commercial installations typically require more robust systems with multiple outdoor stations and visitor logging capabilities. Consider whether you need integration with existing access control systems, CCTV networks, or building management software. Residential installations can usually be simpler, focusing on the front entrance and key living areas.
Step-By-Step Guide: How To Install A Wireless Home Intercom System
Wireless systems are DIY-friendly for anyone comfortable with basic tools. Here’s how to get started.
Tools And Equipment You’ll Need
Gather a drill with appropriate bits, a spirit level, screwdrivers, wall anchors, and a smartphone for configuration. Most wireless systems include mounting hardware, but having extras on hand prevents delays.
Mounting The Master Station
Choose a central location, typically near your main living area. Mount at eye height for video units—around 1.5 metres from the floor. Make sure the location has strong Wi-Fi coverage.
Installing Sub-Stations Throughout Your Property
Position sub-stations where you spend the most time. The bedroom allows you to check late-night visitors without leaving bed, while the kitchen keeps you connected during meal preparation. Outdoor units should be weather-protected and positioned to capture clear facial images of visitors.
Connecting To Your Wi-Fi Network
Follow the manufacturer’s app to connect each unit to your home network. Use your 2.4GHz network for better range, as 5GHz signals don’t penetrate walls as effectively. Test the connection from various locations before finalising the installation.
Step-By-Step Guide: How To Install A Wired Intercom System
Wired installations are more complex but deliver superior reliability for permanent setups.
Understanding Wiring Requirements
Most systems use low-voltage cabling, typically Cat5e or Cat6 Ethernet cables for modern units. Check your system’s specifications before purchasing cables. Plan your cable routes to minimise visible wiring and avoid electrical interference from power cables.
Running Cables Through Walls And Ceilings
This step requires patience and possibly some wall repairs. Fish tape helps guide cables through wall cavities. Where possible, run cables through roof spaces or under floors to minimise visible disruption.
Connecting Power Supply Units
Indoor stations often plug into standard power outlets, while outdoor units may require hardwired connections. If you’re not confident working with electrical connections, this is where calling a licensed electrician makes sense.
Testing Connections And Troubleshooting Common Issues
Test each station individually before completing the installation. Common problems include loose connections, insufficient power supply, and cable damage. Methodically check each component if you experience issues.
Can You Install An Intercom System Yourself?
The answer depends on the system type and your comfort level with DIY projects.
DIY Installation: When It Makes Sense
Wireless systems with simple mounting requirements are perfect for DIY installation. If you can hang a picture frame and follow app instructions, you can probably install a basic wireless intercom. Audio-only systems are particularly straightforward.
When To Hire A Licensed Electrician Or Security Installer
Complex wired installations, especially those requiring electrical work, should involve professionals. Australian regulations require licensed electricians for certain electrical work. Additionally, some insurance policies may not cover DIY electrical installations if something goes wrong.
How Much Does It Cost to Install A Home Intercom System In Australia?
Budget-friendly wireless systems start around $150-300 for basic audio units. Mid-range video systems with app integration typically cost $400-800. Premium multi-unit systems with advanced features can exceed $2,000.
Professional installation adds $200-500 for simple wireless setups and $500-1,500 for complex wired installations. Getting multiple quotes helps ensure competitive pricing.
Maintaining Your Intercom System For Long-Term Performance
Regular maintenance extends your system’s lifespan and ensures reliable operation.
Clean outdoor units monthly to remove dust, cobwebs, and debris that can affect camera clarity and speaker performance. Keep firmware updated to patch security vulnerabilities and access new features. Most manufacturers release updates several times yearly.
Plan to upgrade your system every 8-10 years, or sooner if technology advances significantly. Signs you need an upgrade include declining audio quality, frequent connectivity issues, and incompatibility with newer smart home systems.
Choosing The Best Home Intercom System For Your Needs
Selecting and installing the right home intercom system doesn’t need to be overwhelming. By understanding the different types available—wired versus wireless, audio versus video, smart versus traditional—you can match your choice to your specific requirements and budget.
The key takeaways are straightforward: plan your installation carefully, choose the right system for your property type, and don’t hesitate to call professionals for complex electrical work. Whether you opt for a simple wireless setup you install yourself or a comprehensive wired system fitted by experts, the benefits of improved security and convenient communication make the investment worthwhile.
Ready to upgrade your home or business with a modern intercom system? Start by assessing your property’s needs, set a realistic budget, and explore the options available at your local electronics retailer or security specialist. Your future self—answering the door from the comfort of your couch—will thank you.